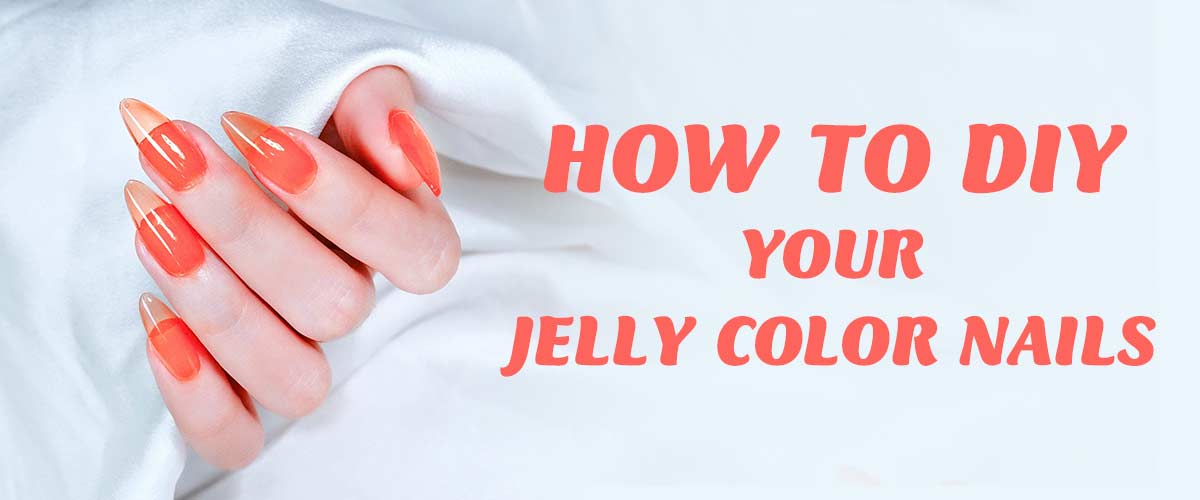
How to DIY your Jelly color nails
We’ve all seen those gorgeous, bright, semi-translucent jelly nails gracing the fingertips of celebrities and influencers on social media and have wondered if it’s possible to create a similar look from the comfort of our own homes. If you have nail polish (the brighter the color, the better) and a bottle of top coat, you can do jelly nails on your own. They can be done on fake and natural nails, with regular or gel polish. You’ll be rocking this look in no time!
If you’re using gel polish, apply a gel base coat and cure it under UV light for 30-60 seconds.
Base coats, both gel and regular, help the colored polish stick to your nails much better. Your look will last longer with it, so do not skip this step!
Do your best to keep the base coat away from the edges of your fingers, so it doesn’t touch your skin. It’s more likely to lift and peel away if it touches the skin.
If you’re using gel polish, you should also “cap” your nails, which means carefully applying the base coat to the tip of each nail.
Mix a few drops of a clear top coat with colored polish to create jelly polish. Use a few drops of a regular top coat rather than a fast-drying one so that the colors will mix more easily. Add a drop of an opaque cream polish so that the ending color will be more vibrant. Add more colored polish if you want a deeper or brighter color.
Mixing the clear and colored polishes makes the colored polish semi-translucent.
You can buy specialty polishes called “tinting colors” or “jelly polishes” that don’t need to be mixed with a clear polish.
If you’re doing gel nails, use all gel polishes for this process.
Paint each nail with the mixed polish. Depending on how translucent you want your nails to be, you could do just 1 coat of polish, for a slightly brighter shade, plan on doing 2 or 3 coats. Avoid getting the polish on your skin for the most professional-looking at-home manicure.
If you’re using long acrylic nails, you could also paint the underside of the nail to add a little extra dimension to the color.
Cure the polish between each coat if you’re using gel polish. Generally, cure your nails for 30 seconds to 2 minutes between each layer of polish. If you get polish on your skin, carefully remove it before curing your nails so that it doesn’t get stuck to your fingers.
If you’re using regular nail polish, wait a few minutes between each coat to let it dry before adding another layer. If you don’t wait and let each coat dry, the polish will smudge and look uneven.
Add a top coat to protect your jelly nails. If you’re using gel polish, use a gel top coat and cure your nails again. Finally, apply a clear protective top coat if you’re using regular non-gel nail polish.
If you’re doing gel nails, wipe each nail with a cotton ball soaked in 91% alcohol after curing them to remove lingering stickiness.
Nail art is free of minds, don’t be limited. Get your thoughts fly in the sky.


Sorry, the comment form is closed at this time.